
Requirements:
- Fastboot package (Here).
- Sony Ericsson USB drivers (32bit & 64bit Here).
- A functioning internet connection.
Instructions:
- To begin, navigate to this website: http://unlockbootloader.sonyericsson.com/instructions.
- Click Continue at the bottom of the page and enter your device’s IMEI code, name and email address in the relevant fields (you can view the IMEI number by entering *#06# on your phone).
- Your unique unlock key will now be mailed to you.
- Now unzip fastboot.zip and open the folder extracted.
- Within that folder, hold the Shift key and press the right Mouse button. Now select Open command window here.
- Now we need to connect the phone to the pc in fastboot mode. Do so by turning the phone off, holding the menu button (search button for the Xperia Play) and plugging in the USB Cable.
- Now in the command prompt, enter the following command:
fastboot.exe -i 0x0fce getvar version
- Now enter the command, replacing KEY in the string with the unlock key mailed to you:
fastboot.exe -i 0x0fce oem unlock 0xKEY
Your smartphone bootloader shoud be unlocked now !
]]>How to Install Custom Boot Animations on your Device
- You have to be rooted in order to do this.
- Download Root Explorer from Here.
- Rename downloaded .zip to “bootanimation” and Copy to SD Card
- Unmount your Droid.
- Open Root Explorer, tap on “sdcard” and locate bootanimation.zip.
- Long press on bootanimation.zip and choose “Move”.
- Hit the back button once and locate the “system” folder.
- Tap and open “system” and then “media”.
- Hit “Paste” which should be an option at the bottom of your screen.
- If there is already a bootanimation.zip file, let Root Explorer overwrite it.
- Back out of Root Explorer and Reboot your phone.
- Enjoy your new Droid boot animation.

Alternate Method
- You have to be rooted.
- Rename downloaded .zip to bootanimation
- Copy to SD Card
- Open up Terminal Emulator on phone
- Insert following comands:
- su
- mount -o remount,rw -t yaffs2 /dev/block/mtdblock3 /system
- dd if=/sdcard/bootanimation.zip of=/system/media/bootanimation.zip
- Reboot

MIUI is one of the most popular Android ROMs in the world. It is based on Android 2.3 and 4.0, featuring better experience and richer themes.
*Remember that only ROOT users ca use custom ROM’s
Here is a step by step guide on woh to flash to Nexus One G5
Downloading flashing tools and ROM pack
Download necessary files to prepare for flashing MIUI ROM
- Download the latest MIUI ROM (here), and put it into the root directory of your SD card.
- Download flashing tools(here) and unzip to the root directory of disk C.
- Download Recovery(here) and put in under the directory of C:\tools.
Unlocking
Unlock here is to unlock bootloader, all N1 phones need to be unlocked. Unlocking will cause the loss of warranty and all data to restore to factory defaults, so please consider carefully.
- Turn off the phone, press VOLUME DOWN and POWER to boot into the bootloader screen. Use VOLUME UP and DOWN to select fastboot, press POWER to enter fastboot.
- Connect your phone to your PC. Start – All Programs – Accessories – Command Prompt, input cd c:\ tools, and press Enter, and then enter fastboot oem unlock, and press enter again. If unlock succeeds, an open lock will show at the bottom of the screen when your phone is starting up.
Installing Recovery
Installing Recovery via fastboot
- After re-entering the fastboot interface, connect your phone to your PC, Start-All Programs- Accessories-Command Prompt, input cd c:\ tools, and press Enter, and then enter fastboot flash Recovery n1_Recovery_3.0.1.4.img, and press enter again.
- Then use VOLUME key to select bootloader on the phone, press POWER to confirm, then select Recovery, press POWER to confirm. Wait a few minutes until the picture shown below appears. And you have finished flashing Recovery.

Wiping data
Enter Recovery and wipe data
- Use trackball in the Recovery interface and click on 3-wipe data/factory reset, then choose 4 – yes -and also wipe sd-ext.


Now the interface is back to Recovery again, use trackball to select and click 4 – wipe cache partition, and then select 8 – yes- wipe cache.


Flashing ROM pack
- In the main interface of Recovery, use trackball to select and click 5-install zip from sdcard, and then select 2-choose zip from sdcard


- Use trackball to select and click the ROM package we have already prepared. Now you need to confirm to install. Use trackball to select and click 8-yes-install update.zip.


- When the progress bar completes and the message “install from sdcard complete” is shown at the bottom of the interface, it means that the flashing is done.


- Now press “go back” to return to the main interface of Recovery. Use trackball to select and click “reboot system now”.

- Now your phone begins to reboot, then what will happen? You will enter MIUI ROM!
- If you see the following image after rebooting, it means that you have succeeded in flashing MIUI ROM.


List of supported devices for Universal AndRoot:
- Google Nexus One (2.2)
- Google G1 (1.6)
- HTC Hero (2.1)
- HTC Magic (1.5) (Select Do not install Superuser)
- myTouch 3G 3.5mm/LE (1.6)
- HTC Tattoo (1.6)
- Dell Streak (2.1)
- Motorola Milestone (2.1)
- Motorola XT701
- Motorola XT800 (2.1)
- Motorola ME511
- Motorola Charm
- Motorola Droid (2.01/2.1/2.2 with FRG01B)
- Sony Ericsson X10 (1.6)
- Sony Ericsson X10 Mini (1.6)
- Sony Ericsson X10 Mini Pro (1.6)
- Acer Liquid (2.1)
- Acer beTouch E400 (2.1)
- Samsung Galaxy Beam
- Samsung galaxy 5 (gt-i5500)
- Vibo A688 (1.6)
- Lenovo Lephone (1.6)
- LG Ally (2.1)
- LG GT540 (1.6)
- Gigabyte GSmart G1305
List of devices that are not suported by Universal AndRoot:
- Google Nexus One (2.2 FRG33- due to exploit fix)
- Samsung i9000 / i6500U / i7500 / i5700
- Motorola ME600 / ME501 / MB300 / CLIQ XT
- Motorola 2.2 FRG22D
- Archos 5
- HuaWei U8220
- HTC Desire / Legend / Wildfire
- HTC EVO 4G / Aria
- SonyEricsson X10i R2BA020
- myTouch Slide
- myTouch 3G (2.2.1)
How to root android with Universal AndRoot :
- Connect your supported Android device to the computer and mount SD card.
- Copy the APK file to the SD card.
- Use any Astro File Manager to install the file. You can install Astro File Manager from HERE
- Now launch the Universal Androotapplication and follow onscreen instructions to root your device.
Download Universal AndRoot from HERE !
More information can be found Here !
SuperOneClick is a simple tool for “rooting” your Android phone. It allows partial or full rooting and also enables “unrooting.”
Here’s a one-click root with almost all phones and all android versions : i9000, Droid, Nexus One, Acer Liquid, Metal, Dell Streak, HTC Magic (Sapphire) 32B, HTC Bee, LG Ally, Motorola Atrix4G, Motorola Charm, Motorola Cliq, Motorola Droid, Motorola Flipside, Motorola Flipout, Motorola Milestone, Nexus One, Samsung Captivate, Samsung Galaxy 551 (GT-I5510), Samsung Galaxy Portal/Spica I5700, Samsung Galaxy S 4G, Samsung Galaxy S I9000, Samsung Galaxy S SCH-I500, Samsung Galaxy Tab, Samsung Transform M920, Samsung Vibrant, Sony Ericsson Xperia E51i X8, Sony Ericsson Xperia X10, Sprint Hero, Telus Fascinate, Toshiba Folio 100 etc
The program requires Microsoft .NET Framework 2.0+ (windows)or Mono v1.2.6+(linux)

Before rooting:
You NEED to put your phone on USB Debugging mode
You NEED to install make sure the Android drivers for your phone are installed
Make sure you DO NOT mount your SD card.
If you still can’t get something to run, try doing it in recovery mode.
How to root
- The first step is to download Super One Click Root App and save it on your desktop.
- Once this is done, connect your phone to the computer. it is important to note that after connecting the phone, you must not mount SD card.
- Now go to phone settings and enable USB Debugging.
- Once this is done, launch SuperOneClick.exe by double clicking.
- Now click on Universal tab on screen if you are going to root any Android device like Nexus One, Galaxy S, Droid etc. Click on Samsung Captivate if that’s you phone.
- Now simply click on Root tab and wait for the process to finish. It will take some time so hang in there.
- After the rooting is complete, click Allow Non Market Apps if you need to.
Incompatibility list
With the absolutely beautiful ADB exploit , titled rageagainstthecage (ratc), absolute ALL devices can be rooted. This is because it exploit is ADB which all devices use. There is an issue though. Some devices have a NAND lock which does not allow you to write to the /system mount. Because of this, you can’t copy su, sqlite or busybox to /system/bin. This creates some issues but there is a work around. For things that don’t need access to /system (like enabling non-market apps) I can use the ratc exploit to make those changes. If your device cannot use su in /system/bin then you can simple select a checkbox (as of v1.5) that says to use ratc.
There are 3 levels of “root” we can define:
- Level 1: Shell Root (with ratc rooting the adb shell but no /system write access)
- Level 2: Temporary Root (/system/bin/su installed but lost on reboot)
- Level 3: Full Root (/system/bin/su installed and sticks)
Some devices have a NAND lock. SuperOneClick will only give a Shell root until you remove this lock.
The following phones can use unrevoked to remove this lock:
- Sprint EVO 4G (HTC Supersonic)
- Droid Incredible (HTC Incredible)
- HTC Desire GSM
- HTC Desire CDMA (HTC BravoC)
- HTC Aria
- Droid Eris (HTC DesireC)
- HTC Wildfire (HTC Buzz)
Download SuperOneClick v2.3.3 from HERE ! (PW: www.modern-smartphone.com )
]]>Support the Android 2.1,2.2 and 2.3
Working on the following devices:
| HTC Sensation | Galaxy Nexus (i9250) | LG Optimus 3D (P920) | |
| HTC Wildfire S | Galaxy Note (I9220) | LG Optimus 2x | |
| HTC Desire S | Galaxy S II (I9100) | LG Optimus LET | |
| HTC Incredible S | Galaxy S (I9000) | LG Optimus Black | |
How to use :
- Your device must be in USB Debugging mode. To turn it on, go to Settings > Applications > Development and check the box.
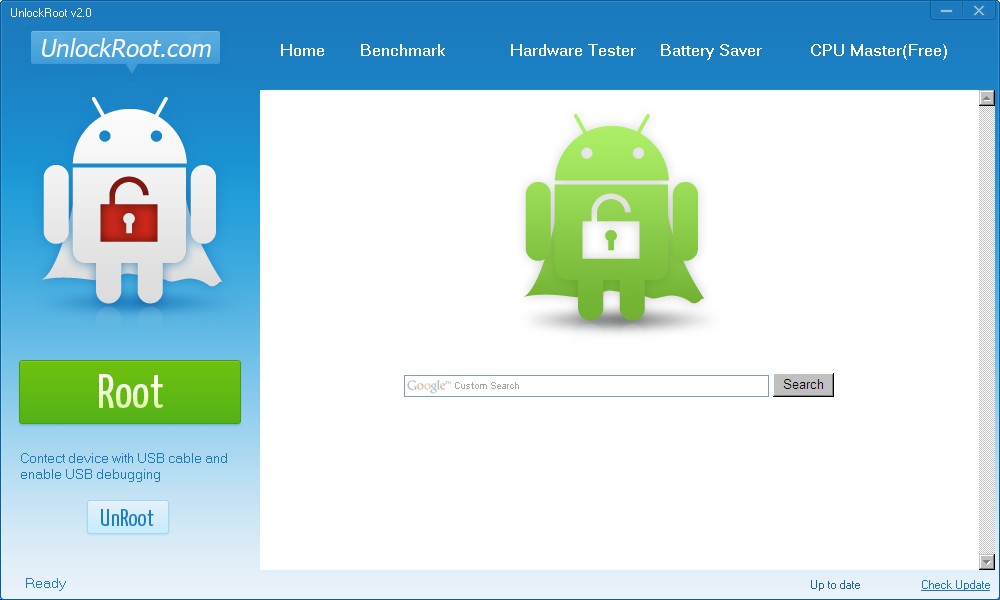
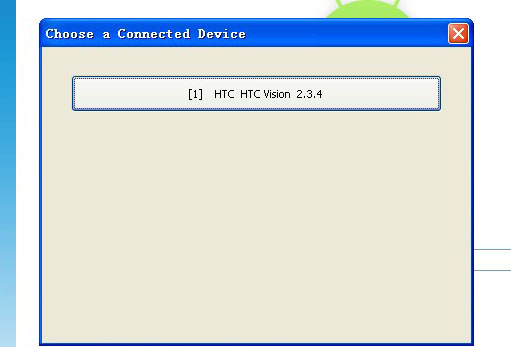
- Connect your device to your PC, Run UnlockRoot.exe,
- Click “Unlock Root”, Enjoy!
Note: You need to install your device’s driver on your pc before do this.
Rooting your devices:

Install Power Saver to save the battery for you(Recommend):
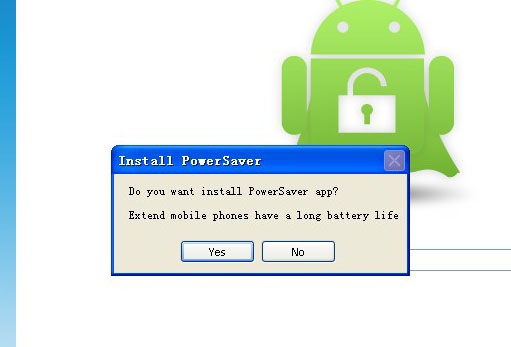
After get ROOT Permissions,To take effect after restart the phone
After reboot your devices already have root access permissions
Download Unlock Root from HERE or HERE !
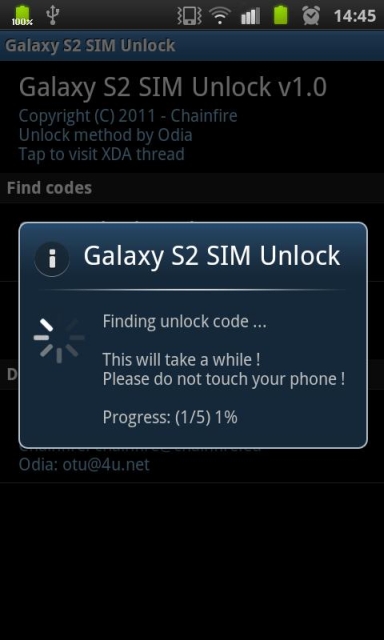
If the code doesn’t work, don’t keep trying it !. You may end up with a freeze. In that case, the program can also find the unfreeze code, but if the SIM unlock code is wrong in the first place, maybe so is the unfreeze code.
The app need root so be sure your SGS2 is rooted.
IMPORTANT NOTE:
On some newer SGS2 devices, it does not work at all. You can try “Galaxy_S Unlock” app, but beware this unlock method is much more dangerous !!!
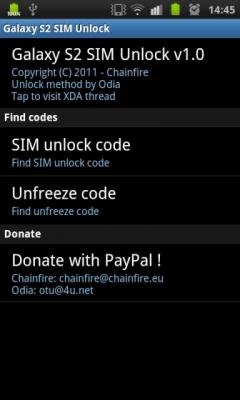
Download Samsung Galaxy S 2 SIM unlock code finder from HERE !
- This app unlock by “patch” nv_data files.
- All files are backuped at step 1.
- Don’t use on old Docomo phones, they don’t have the same nv_data.
- Don’t use on 4G, nv_data is not in the same folder.
If you don’t have any code for sim unlock, if SGS Unlock Tool don’t send codes, this apk is made for you !!!
Need: Root + Busybox

.jpg)
For security, save your /efs folder
- Step 1 save your /efs folder
- Step 2 Unlock your phone in 60 seconds, black screen is normal(get the good step2 for phones sold on 2.1 or 2.2)
- Step 3 Built .nv_data.bak (after restart)
- And last choice restore /efs folder saved on step 1 if you have any problem.
Download Galaxy S Unlock from HERE !
]]>If you are interest in creating android app or just want to test your android mobile then android sdk is tool you need, you need to connect your phone to your pc so to all sort of all development, but before connecting you need to enable USB Debugging on your phone.
Debugging Mode allow you to retrieve all sorts of useful information from your phone. Usb Debugging is a developer tool intended for development of android mobile only.
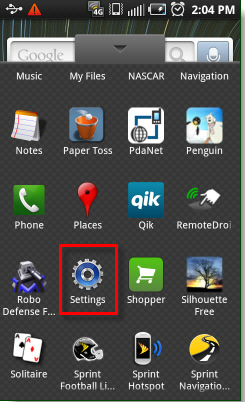
Step 1:Launch the Settings app on your phone. This can be found in your App Drawer, or by Pressing the menu button on the outside of your device.
Step 2:Tap Applications.
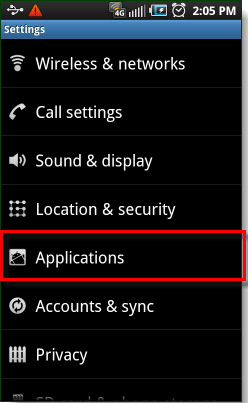
Step 3:Tap Development.

Step 4:Check the box for USB debugging.*
*You can also Enable, Stay Awake and Allow mock locations to make things easier when you are running tests.

Done!
Your phone should now be in Debug Mode, if you go into the notification bar you’ll find an Ongoing alert stating USB debugging connected. Note that even while USB debug mode is enabled you can still Mount your Android phone to your computer to transfer files without causing any problems!

- *#*#4636#*#* – Phone Information (allows you to change the SMS service centre number and more)
- *2767*3855# - HARD RESET (will fully wipe and restore firmware. USE WITH CAUTION
- *#*#34971539#*#* Shows completes information about the camera
- *#*#7594#*#* Changing the power button behavior-Enables direct poweroff once the code enabled
- *#*#273283*255*663282*#*#* For a quick backup to all your media files
- *#*#197328640#*#* Enabling test mode for service activity
- *#*#232339#*#* OR *#*#526#*#* OR *#*#528#*#* Wireless Lan Tests
- *#*#232338#*#* Displays Wi-Fi Mac-address
- *#*#1472365#*#* For a quick GPS test
- *#*#1575#*#* A Different type GPS test
- *#*#0283#*#* Packet Loopback test
- *#*#0*#*#* LCD display test
- *#*#0673#*#* OR *#*#0289#*#* Audio test
- *#*#0842#*#* Vibration and Backlight test
- *#*#2663#*#* Displays touch-screen version
- *#*#2664#*#* Touch-Screen test
- *#*#0588#*#* Proximity sensor test
- *#*#3264#*#* Ram version
- *#*#232331#*#* Bluetooth test
- *#*#7262626#*#* Field test
- *#*#232337#*#* Displays bluetooth device address
- *#*#8255#*#* For Google Talk service monitoring
- *#*#4986*2650468#*#* PDA, Phone, Hardware, RF Call Date firmware info
- *#*#1234#*#* PDA and Phone firmware info
- *#*#1111#*#* FTA Software version
- *#*#2222#*#* FTA Hardware verion
- *#*#44336#*#* Displays Build time and change list number
- *#06# Displays IMEI number
- *#*#8351#*#* Enables voice dialing logging mode
- *#*#8350#*#* Disables voice dialing logging mode
- **05***# Execute from Emergency dial screen to unlock PUK code